Linked Items
Items can be linked to other items. This allows additional functionality for tracking connections between items, and can be automated by a system administrator.
When an Item is loaded in Explorer, it also fetches all of the Linked Items connected to it. To view the items that are linked to the current item, open the Links dropdown menu in the Command Bar.

After linking on this button, the Linked Items Panel will open, displaying all categories or linked items as accordion menus.
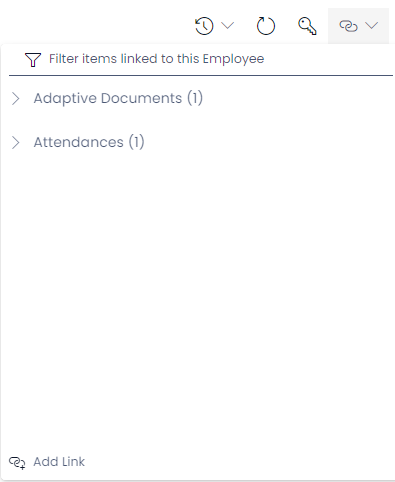
Below is a list of the attributes and features of the Linked Items Panel.
| Attribute | Description | Screenshot |
|---|---|---|
| Filter | This filter search bar allows you to search for a particular linked item. To use the filter, type in the name of the item and press enter. The panel will then only display items that contains the filter's text in their title. |  |
| Accordion Menus | Each linked item will be contained in an Accordion menu that describes which Table the item is stored in, or what kind of item it is. Note that the Accordion menu has a sideways chevron > as well as the title of the Table, and a number in brackets to denote how many items from that Table have been linked. | 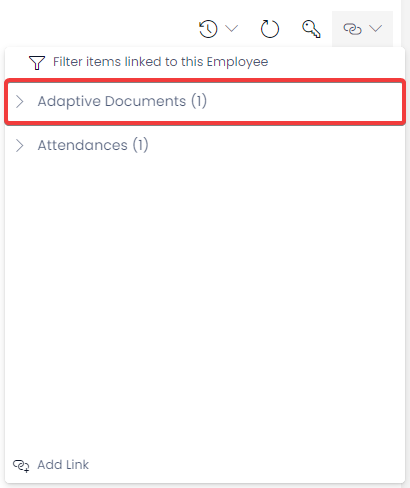 |
| Linked Item Rows | Clicking on the Accordion Menus will cause them to "open" and display the items inside. The chevron will now point downwards to indicate the menu has opened. Each linked item appears with a green background, and two additional buttons. |  |
| Open Item | At the end of each Linked Item's row is the Open Item button, which will open the item in the same browser tab by default. When pressing this button, Rapid will prompt you to save your changes to the current item before navigating away. | |
| Unlink Item | At the end of each Linked Item's row is the Unlink Item button, which will delete the connection between linked items. Note that the items themselves will not be deleted, just the link or connection between them. | |
| Add Link | At the bottom of the panel is the Add Link button, which allows the user to navigate through a list of all Tables and Items in the site, to link an item. This is only one method of linking items. Linking items can also be accomplished automatically via Workflows. | 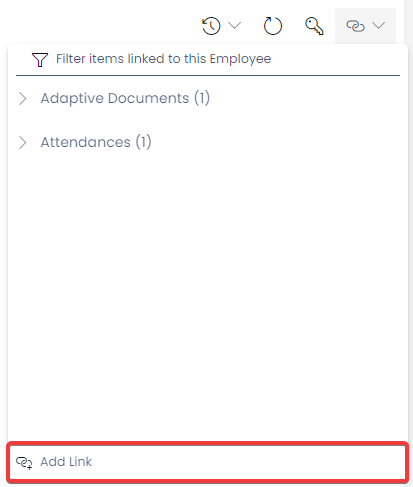 |
Linked Items and Page Components
Note that there are several other methods for viewing linked items. The following page components will also display items that are linked to the current item: